How to Install a Hydraulic Pump Step by Step

Installing a hydraulic pump requires precision and attention to detail. You must ensure every step is followed correctly to avoid system inefficiencies or failures. Whether you are working with an I3V Series Hydraulic Pump or an IAP Series Hydraulic Pump, proper installation ensures smooth operation and extends the lifespan of your hydraulic system.
Key Takeaways
- Collect all tools and materials you need before starting. Being ready saves time and avoids mistakes.
- Check the hydraulic pump for damage before installing it. Fixing broken parts now avoids expensive problems later.
- Make sure the mounting surface is clean and flat. A good base helps the pump work well and smoothly.
Preparation Before Installing a Hydraulic Pump
Gather the Necessary Tools and Materials
Before starting, collect all the tools and materials you will need. This step saves time and prevents interruptions during the installation process. Common tools include wrenches, screwdrivers, and a torque wrench. You may also need hydraulic fluid, thread sealant, and a clean cloth. Check the manufacturer’s manual for any specific tools required for your hydraulic pump. Having everything ready ensures a smooth workflow and reduces the risk of errors.
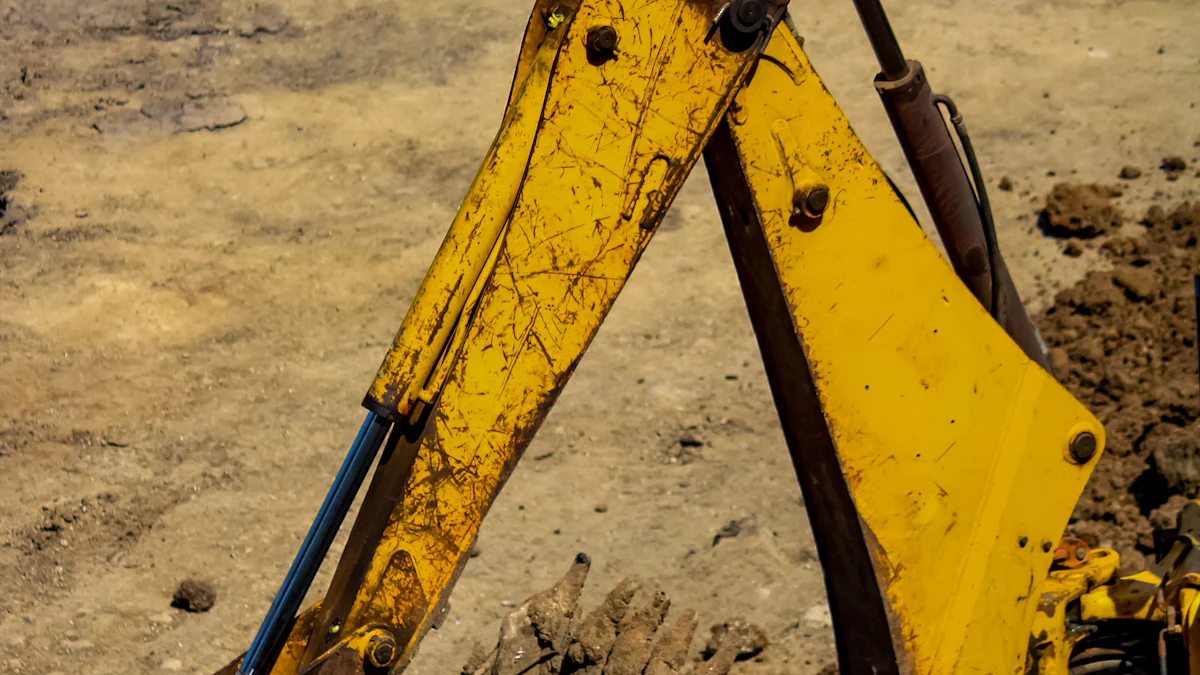
Inspect the Hydraulic Pump and Components for Damage
Examine the hydraulic pump and its components carefully. Look for visible damage, such as cracks, dents, or worn-out seals. Damaged parts can lead to leaks or system failure. Pay attention to the pump’s fittings and connections. If you notice any issues, replace the damaged parts immediately. This inspection step ensures the pump is in good condition before installation, which helps avoid costly repairs later.
Clean and Level the Mounting Surface
Prepare the mounting surface by cleaning it thoroughly. Dirt, grease, or debris can affect the pump’s alignment and performance. Use a clean cloth and a suitable cleaning agent to remove contaminants. After cleaning, check if the surface is level. An uneven surface can cause vibrations and reduce the pump’s efficiency. Use a leveling tool to confirm the surface is flat. A clean and level base ensures the hydraulic pump operates smoothly and lasts longer.
Step-by-Step Hydraulic Pump Installation
Align and Mount the Hydraulic Pump Securely
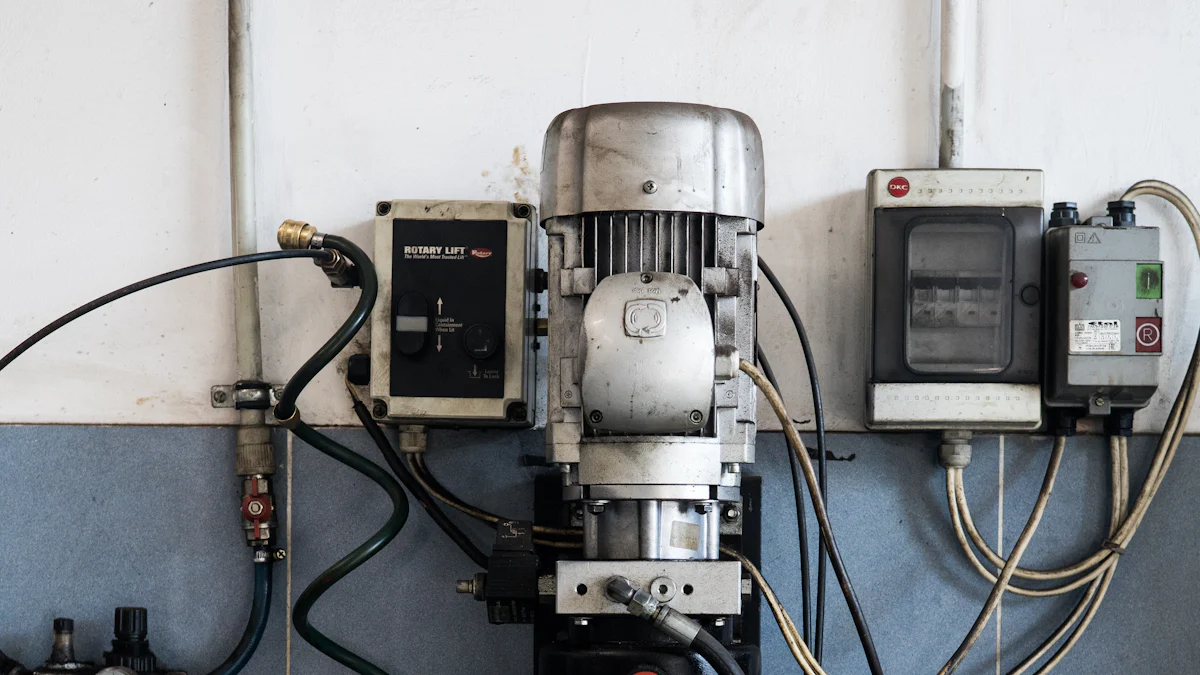
Position the hydraulic pump on the prepared mounting surface. Ensure the pump aligns with the mounting holes and any connected components. Use a leveling tool to confirm proper alignment. Misalignment can cause vibrations and reduce efficiency. Secure the pump using bolts or fasteners recommended by the manufacturer. Tighten them evenly to avoid uneven pressure on the pump housing. A properly mounted hydraulic pump ensures stability and smooth operation.
Connect Hydraulic Lines and Ensure Leak-Free Connections
Attach the hydraulic lines to the pump’s inlet and outlet ports. Check the manufacturer’s manual for the correct placement of each line. Use thread sealant or O-rings to create a tight seal. Hand-tighten the connections first, then use a wrench to secure them further. Avoid over-tightening, as this can damage the fittings. After connecting the lines, inspect for gaps or loose fittings. Leak-free connections are essential for maintaining system pressure and preventing fluid loss.
Tip: Double-check the hydraulic lines for compatibility with your pump to avoid mismatched fittings.
Prime the Pump to Remove Air from the System
Before starting the pump, prime it to remove trapped air. Fill the pump with hydraulic fluid through the designated port. Rotate the pump shaft manually to help the fluid circulate. This step prevents air pockets from forming, which can cause cavitation and damage the pump. Follow the manufacturer’s guidelines for the correct priming procedure. Proper priming ensures the hydraulic pump operates efficiently from the start.
Bleed Air from the Hydraulic System for Smooth Operation
Air trapped in the hydraulic system can lead to erratic performance. To bleed the system, locate the bleed valves on the pump or connected components. Open the valves slowly while the pump operates at low pressure. Allow the air to escape until only hydraulic fluid flows out. Close the valves securely once the process is complete. Bleeding the system ensures smooth and consistent operation of your hydraulic pump.
Post-Installation Checks for Hydraulic Pump
Test for Leaks and Tighten Connections if Necessary
After installation, inspect the hydraulic pump and its connections for leaks. Look closely at the fittings, hoses, and seals. Even small leaks can lead to pressure loss and reduced efficiency. Use a clean cloth to wipe around the connections and check for any signs of hydraulic fluid. If you find a leak, tighten the connection carefully. Avoid over-tightening, as this can damage the fittings or seals. Testing for leaks ensures the system operates at its full potential without wasting fluid.
Listen for Unusual Noises or Vibrations
Start the hydraulic pump and pay attention to its operation. Listen for any unusual noises, such as grinding, knocking, or whining. These sounds may indicate misalignment, trapped air, or internal damage. Feel the pump and surrounding components for excessive vibrations. Vibrations can signal improper mounting or an unbalanced system. Address these issues immediately to prevent further damage. A quiet and stable pump indicates proper installation and alignment.
Verify Proper Pressure and Flow Rates
Check the system’s pressure and flow rates using a pressure gauge and flow meter. Compare the readings to the manufacturer’s specifications. Incorrect pressure or flow can reduce the efficiency of your hydraulic system. Adjust the settings if necessary to match the recommended values. If the readings remain off, inspect the pump and system for blockages or malfunctions. Verifying these parameters ensures the hydraulic pump delivers optimal performance.
Maintenance Tips for Hydraulic Pump Longevity
Regularly Inspect and Clean the Pump and Components
Frequent inspections keep your hydraulic pump in top condition. Check for dirt, debris, or buildup on the pump and its components. Contaminants can reduce efficiency and lead to premature wear. Use a clean, lint-free cloth to wipe down the pump. For stubborn grime, apply a suitable cleaning agent recommended by the manufacturer. Pay close attention to seals, fittings, and hoses during your inspection. Cleaning and inspecting regularly prevent small issues from escalating into costly repairs.
Monitor Hydraulic Fluid Levels and Replace When Needed
Hydraulic fluid plays a critical role in the performance of your system. Low fluid levels can cause overheating, reduced pressure, or even pump failure. Check the fluid reservoir frequently and top it off when necessary. Use the type of hydraulic fluid specified in the manufacturer’s manual. Over time, fluid can degrade or become contaminated. Replace it according to the recommended schedule or if you notice discoloration or a burnt smell. Proper fluid maintenance ensures your hydraulic pump operates efficiently.
Tip: Always dispose of used hydraulic fluid responsibly to protect the environment.
Address Wear and Tear Promptly to Prevent Failures
Wear and tear are inevitable, but addressing them early can save you from major breakdowns. Inspect moving parts like the pump shaft and bearings for signs of wear. Listen for unusual noises, such as grinding or squealing, which may indicate internal damage. Replace worn-out components immediately to avoid further damage to the system. Keeping spare parts on hand can reduce downtime. Proactive maintenance extends the lifespan of your hydraulic pump and minimizes unexpected failures.
Proper installation and maintenance of your hydraulic pump ensure its efficiency and longevity. Follow the steps outlined in this guide to avoid common issues and achieve reliable performance. Regular inspections and proactive care keep your system in top condition. Take the time to install and maintain it correctly for the best results.
FAQ
What should you do if the hydraulic pump makes unusual noises?
Unusual noises often indicate misalignment or trapped air. Check the pump’s alignment and bleed the system to remove air. Address the issue promptly to prevent damage.
How often should you replace hydraulic fluid?
Replace hydraulic fluid based on the manufacturer’s recommendations. Typically, this occurs every 1,000 to 2,000 hours of operation or when fluid shows signs of contamination.
Can you install a hydraulic pump without professional help?
Yes, you can install it yourself by following the manufacturer’s manual and this guide. Ensure you have the necessary tools and take safety precautions during the process.